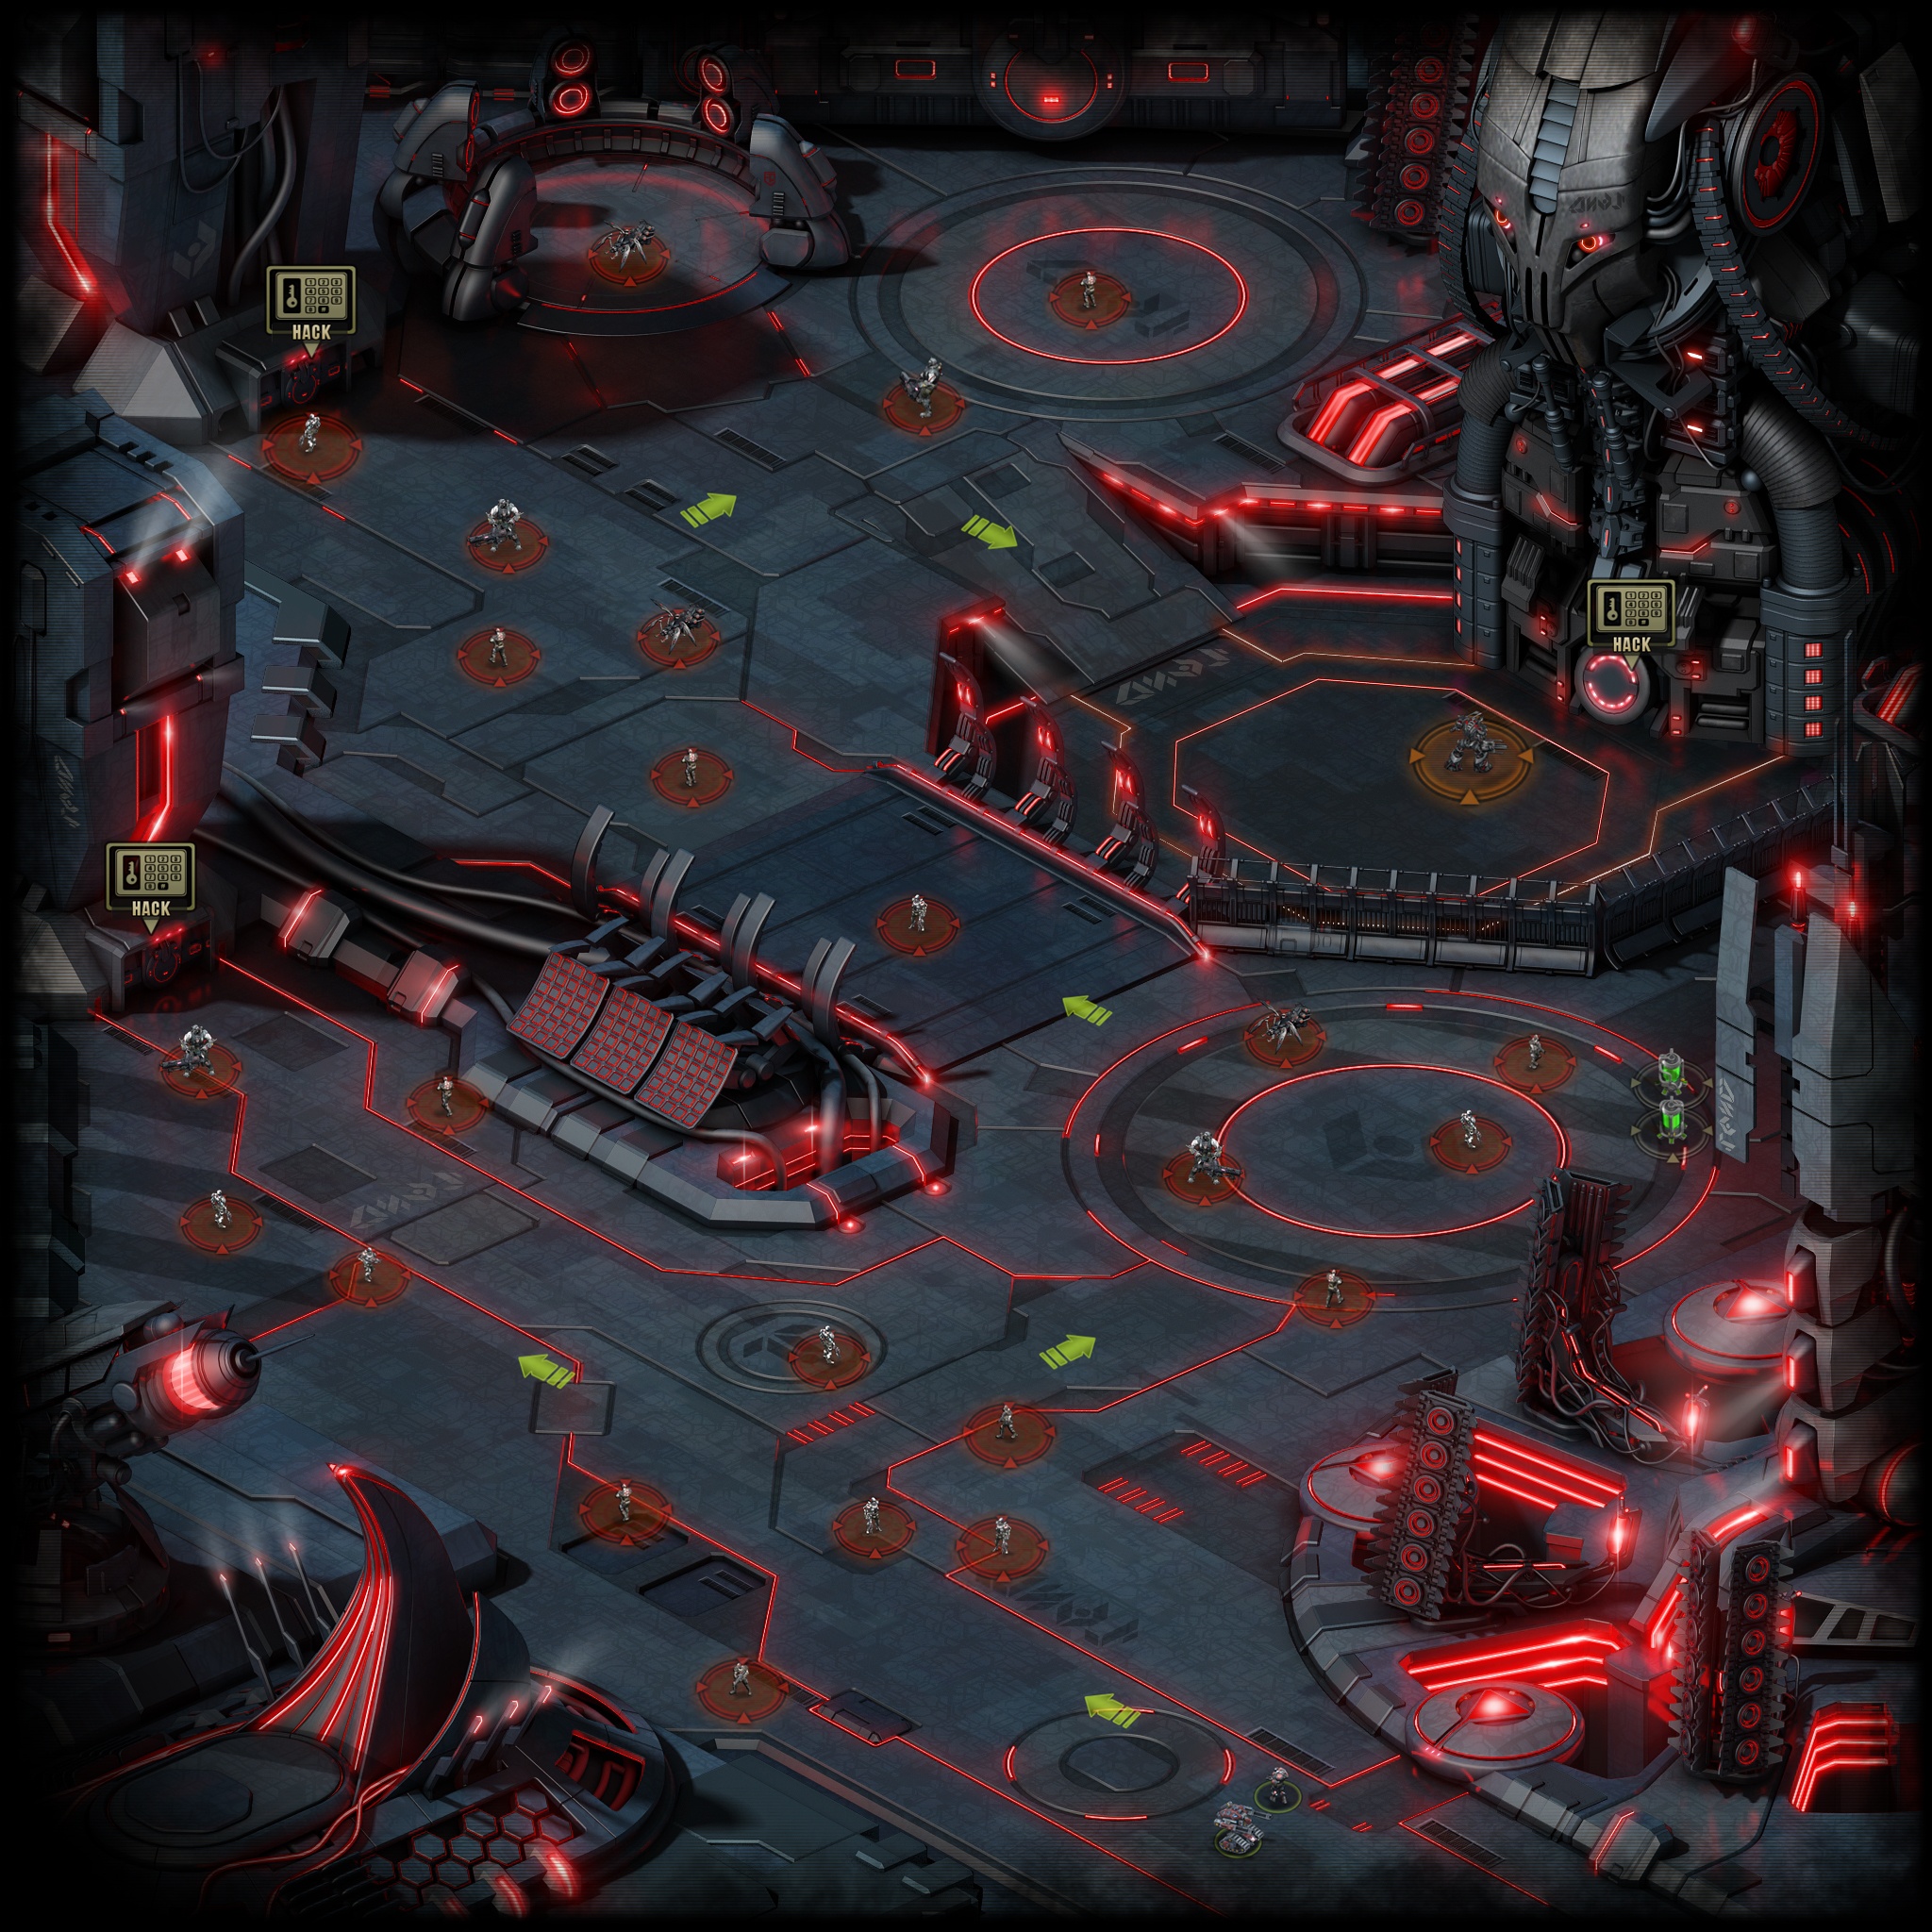
Gate Location Walkthrough
| <<< Defense Line Walkthrough | Gate Walkthrough (primary story-line) | Beacon Walkthrough >>> |
To see information about any object at the location map, just move your mouse cursor (for PC, except Mozilla Firefox) or finger (for mobile) on it!
General information about this location is here.

| Object Type | Enemies Composition | Reward | Required? | Comments |
| Enemies | ||||
|---|---|---|---|---|
| Enemy 1 | 60 |
Yes | ||
| Enemy 2 | 60 |
Yes | ||
| Enemy 3 | 60 |
No | ||
| Enemy 4 | 60 |
Yes | ||
| Enemy 5 | 60 |
No | ||
| Enemy 6 | 60 |
No | ||
| Enemy 7 | 60 |
Yes | ||
| Enemy 8 | 60 |
Yes | ||
| Enemy 9 | 60 |
Yes | ||
| Enemy 10 | 60 |
No | ||
| Enemy 11 | 50 |
Yes | ||
| Enemy 12 | 60 |
No | ||
| Enemy 13 | 60 |
No | ||
| Enemy 14 | 60 |
No | ||
| Enemy 15 | 60 |
No | ||
| Enemy 16 | 60 |
Yes | ||
| Enemy 17 | 60 |
Yes | ||
| Enemy 18 | 60 |
Yes | ||
| Enemy 19 | 50 |
Yes | ||
| Enemy 20 | 60 |
Yes | ||
| Enemy 21 | 60 |
Yes | To get access to the next “Beacon” location | |
| Enemy 22 | 50 |
No | you have to kill all enemy squads here | |
| Enemy 23 | 60 |
No | (terraforming is not necessary) | |
| Enemy 24 | 60 |
Yes | ||
| Boss Tyrant Dominator | 60 |
Yes | ||
| Object Type | Reward | Required? | Comments |
| Boxes | |||
|---|---|---|---|
| Box 1 | 5 |
No | |
| Box 2 | 5 |
No | |
| Hacks | |||
| Hack 1 | 10 |
No | |
| Hack 2 | 10 |
No | |
| Hack 3 | 10 |
No | |
| Studies | |||
| Study 1 | 10 |
No | Drops from Enemy 2 |
| Study 2 | 10 |
No | Drops from Enemy 11 |
| Study 3 | 10 |
No | Drops from Boss |
| Other Places | |||
| Starting Point | Located at the right bottom corner of the location | ||
| Total Location Experience: | 1540 |
||
| <<< Defense Line Walkthrough | Gate Walkthrough (primary story-line) | Beacon Walkthrough >>> |
If you found an error, highlight it and press Shift + Enter or click here to inform us.


Guys, is it worth to fully upgrade Rico to fight those nasty metal Spiders or should I get Matryoska?
Matryoshka.
Thanks for the opinion.
shall I have to kill all and every enemy to get to the next location? because I just killed the necessary enemies and the boss of this of this level, but still it is saying “finish the exploration of the previous chapter to unlock the next chapter”